If you’ve noticed your beloved houseplant looking a bit cramped or struggling despite your best care efforts, it might be time for a bigger home. Repotting isn’t just about giving your plant more space—it’s about refreshing its environment and setting it up for years of healthy growth ahead.
I’ve been caring for houseplants for over a decade, and I can tell you that mastering the art of repotting was one of the most valuable skills I learned. It seemed daunting at first, but once you understand the process, it becomes second nature. Let me walk you through everything you need to know about repotting your houseplants successfully.
Why Repotting Matters More Than You Think
Think of repotting like moving to a bigger apartment when you’ve outgrown your studio. Your plant’s roots need room to stretch, access to fresh nutrients, and proper drainage to stay healthy. When plants stay in the same pot for too long, they face several problems that can seriously impact their wellbeing.
The soil in your plant’s pot doesn’t last forever. Over time, it becomes compacted, loses its structure, and gets depleted of essential nutrients. Even if you’re fertilizing regularly, old soil can develop salt buildup from minerals in water and fertilizers. This creates a hostile environment for your plant’s roots.
Read more – Balcony Plant Care Mistakes to Avoid: Common Pitfalls
Root-bound plants also struggle with water absorption. You might notice water sitting on the surface or running straight through without being absorbed. This happens because the roots have taken up all the available space, leaving little room for soil to hold moisture. Conversely, some root-bound plants dry out extremely quickly because there’s so much root mass demanding water.
Beyond the practical benefits, repotting gives you a chance to inspect your plant’s root system. You can catch problems like root rot early, remove dead or damaged roots, and ensure your plant has the best possible foundation for future growth. It’s like a health checkup and spa treatment rolled into one.
Recognizing When Your Plant Needs a New Home
Knowing when to repot is just as important as knowing how. Not every plant needs annual repotting, and some actually prefer being slightly root-bound. However, there are clear signs that tell you it’s time to take action.
The most obvious indicator is roots growing out of the drainage holes at the bottom of the pot. When I see this, I know the plant has completely exhausted its current space. If you gently remove the plant from its pot and see roots circling around the outside of the soil ball in tight spirals, that’s another definite sign.
Watch how your plant behaves when you water it. Does the water sit on top for a long time before soaking in? Or does it run straight through in seconds? Both scenarios suggest the soil structure has broken down or the roots have taken over. You might also notice that your plant needs watering much more frequently than it used to, sometimes every day or two. This indicates the root system has absorbed most of the soil’s water-holding capacity.
Read more – Should You Be Using Tap Water for Houseplants? Expert Advice
Physical instability is another clue. If your plant keeps tipping over or the pot feels top-heavy, it’s likely because the plant has grown much larger than its pot can comfortably support. Stunted growth, smaller leaves, or yellowing foliage despite proper care can also signal that your plant has exhausted its pot’s resources.
For most houseplants, checking every 12 to 18 months is a good practice. Fast growers like pothos, spider plants, and peace lilies might need repotting annually, while slower growers like succulents and snake plants can go two to three years between repottings.
Timing Is Everything: When to Repot
While you can technically repot a plant any time of year if it’s in distress, choosing the right season makes a huge difference in how well your plant recovers. Spring and early summer are ideal because this is when most houseplants enter their active growing phase. Their metabolism speeds up, they’re producing new growth, and they can quickly establish roots in fresh soil.
I’ve learned from experience that repotting during late fall or winter is more stressful for plants. During dormancy, their systems slow down, and they’re not equipped to handle the trauma of root disturbance and environmental change. If you absolutely must repot during winter due to root rot or another emergency, just be extra gentle and expect a longer recovery period.
There’s one exception to the spring rule: if your plant is actively flowering, wait until the blooms fade. Repotting during flowering can cause the plant to drop its blossoms as it redirects energy to root establishment.
Gathering Your Repotting Arsenal
Being prepared makes the entire process smoother and less stressful for both you and your plant. Here’s what you’ll need:
The Right Pot: Choose a container that’s one to two inches larger in diameter than the current pot. Don’t be tempted to go much bigger—too much soil around the roots stays wet and can lead to rot. Always select a pot with drainage holes. If you fall in love with a decorative pot without holes, use it as a cachepot (outer container) and keep your plant in a plastic nursery pot inside it.
Read more – Why Your Houseplants Keep Dying And 7 Fixes Experts Swear By
Quality Potting Mix: Never use garden soil for houseplants—it’s too dense and doesn’t drain well indoors. Choose a potting mix appropriate for your plant type. Succulents and cacti need fast-draining mix, while tropical plants prefer moisture-retentive but well-draining soil. African violets have their own special mix. When in doubt, a good all-purpose potting mix works for most common houseplants.
Tools: Grab a small trowel or old spoon for scooping soil, clean scissors or pruning shears for root trimming, and gardening gloves if you prefer to keep your hands clean. A chopstick or pencil can be useful for working soil into gaps around roots.
Water: Have a watering can or spray bottle ready for after the repotting is complete.
Workspace Setup: Lay down newspaper or a plastic sheet because this process can get messy. Working outdoors or in a bathroom or kitchen makes cleanup much easier.
The Repotting Process: A Detailed Walkthrough
Now for the main event. Take your time with each step, and remember that being gentle is more important than being fast.
Step 1: Prepare Your New Pot

Start by ensuring your new pot has adequate drainage holes. If it doesn’t, drill some or choose a different container. Add a layer of fresh potting mix to the bottom—about one to two inches depending on pot size. This creates a cushion for the roots and helps position the plant at the right height.
Some people like to add a layer of rocks or pottery shards at the bottom for drainage, but modern potting mixes drain well enough that this isn’t necessary. In fact, it can create a perched water table that keeps the bottom of your soil overly moist.
Step 2: Remove the Plant from Its Current Pot

Water your plant lightly a few hours before repotting—not soaking wet, but slightly moist. This makes the root ball easier to work with. Turn the pot on its side and gently tap the bottom and sides. The plant should begin to loosen.
Support the base of the plant with one hand, keeping your fingers spread across the soil surface. With your other hand, carefully pull the pot away. If it’s really stuck, you can run a butter knife around the inside edge of the pot or gently squeeze flexible plastic pots to loosen the root ball.
For very stubborn cases, I’ve sometimes had to break terracotta pots or cut plastic ones. This is a last resort, but it’s better than damaging your plant by pulling too hard.
Step 3: Examine and Treat the Roots

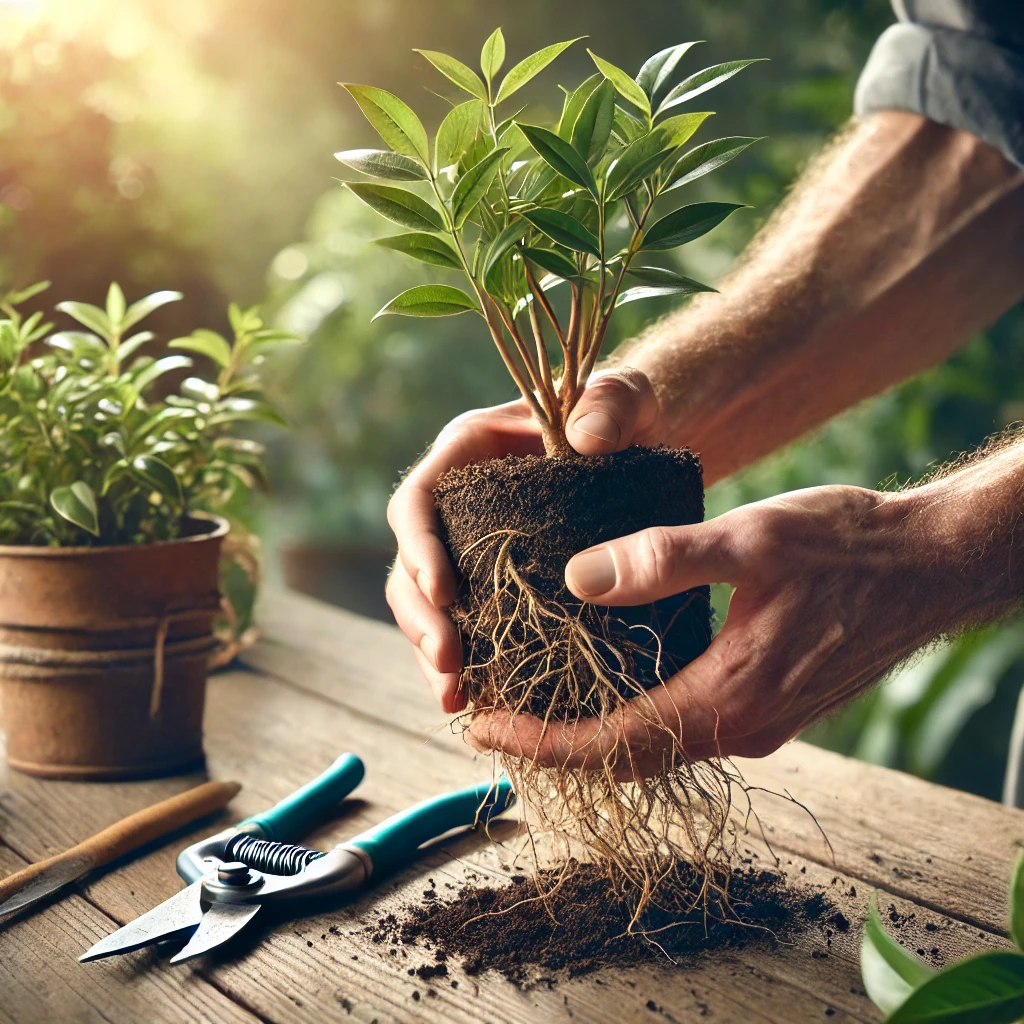
This is your opportunity to play plant doctor. Gently tease apart the outer roots if they’re circling tightly. Healthy roots should be white, cream, or light tan and feel firm. They might be slightly fragile, which is normal.
Look for any brown, black, mushy, or foul-smelling roots—these are dead or rotting and need to be removed. Use clean, sharp scissors to trim them away. Don’t be afraid to be aggressive with damaged roots; your plant will recover better without them.
If the root ball is extremely dense and tight, you can make a few vertical cuts (about an inch deep) on the sides and score an X across the bottom. This sounds brutal, but it actually encourages new root growth and helps the roots spread into the new soil instead of continuing to circle.
Step 4: Position and Plant

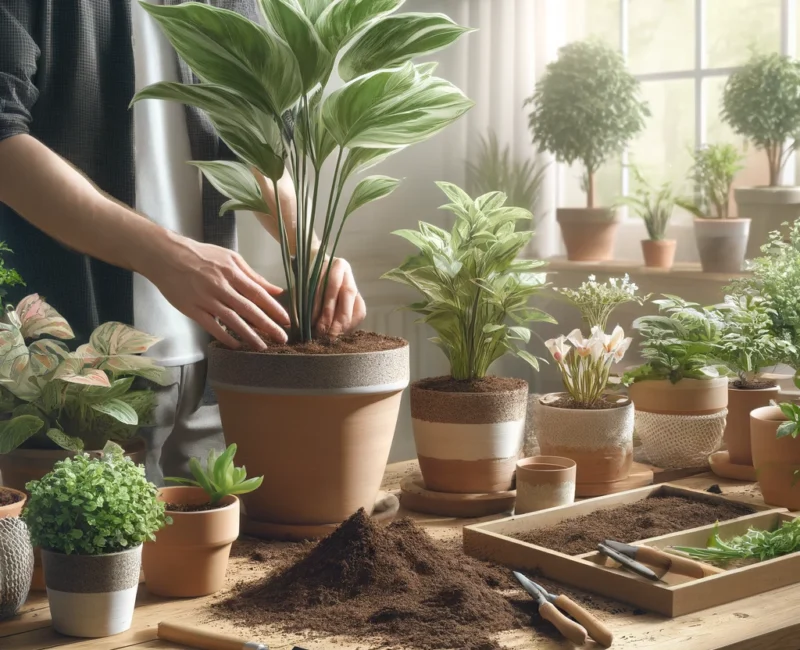
Place your plant in the center of the new pot, holding it upright at the correct height. The soil line should be about the same as it was in the previous pot—not higher or lower. Most plants shouldn’t be buried deeper than they were growing originally, as this can lead to stem rot.
Begin filling in around the root ball with fresh potting mix. Work the soil in gently with your fingers or a tool, making sure there are no large air pockets. Air pockets can cause roots to dry out and die. Fill to about half an inch below the pot rim to allow space for watering.
Pat the soil down gently to secure the plant, but don’t pack it too firmly. Potting mix needs to stay somewhat fluffy to allow for proper air circulation and drainage.
Step 5: Water and Settle

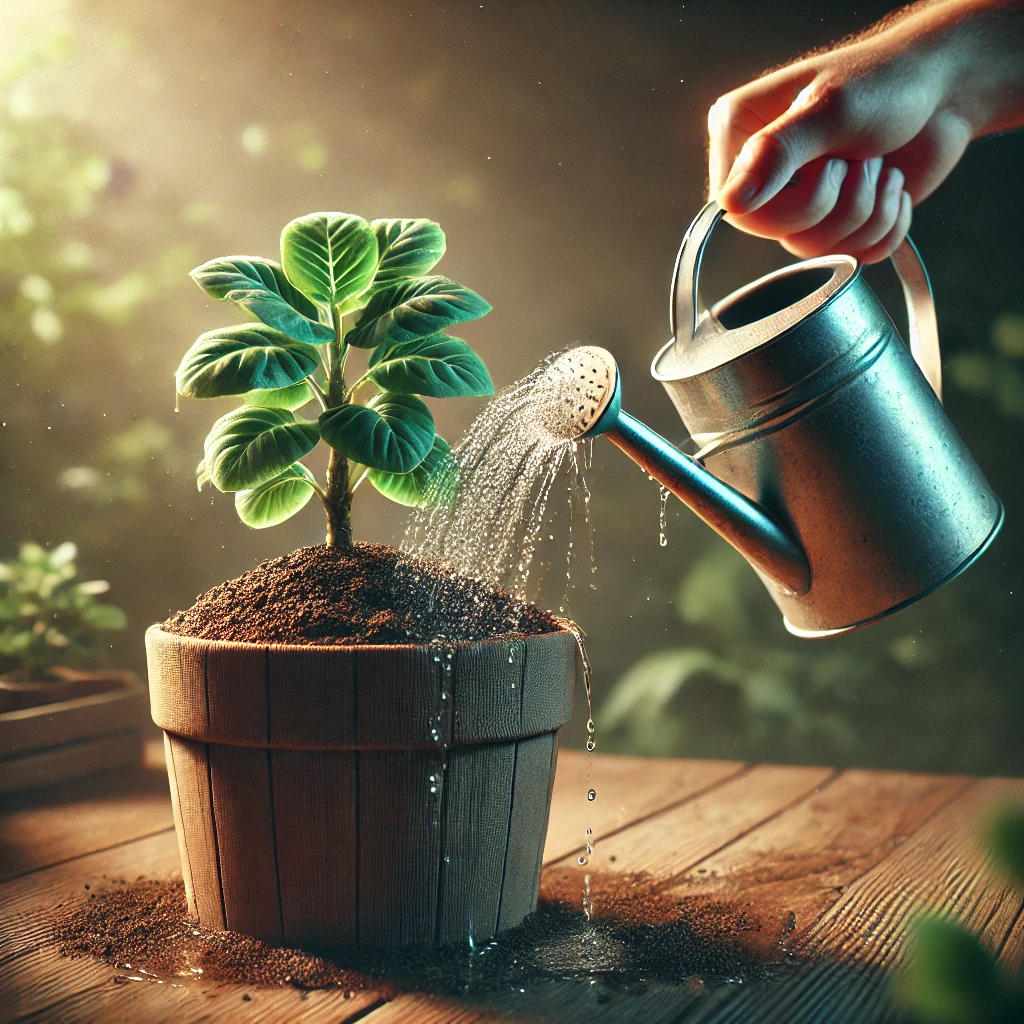
Give your newly repotted plant a thorough watering. This helps settle the soil around the roots and eliminates any remaining air pockets. Water until it runs out the drainage holes, then allow the pot to drain completely. Don’t leave your plant sitting in a saucer of water.
Some people recommend using diluted transplant fertilizer or root stimulator at this stage, but I prefer to wait at least two to four weeks before fertilizing. The fresh potting mix contains nutrients, and giving the plant time to recover from the stress without added chemicals is gentler.
Step 6: Aftercare and Recovery

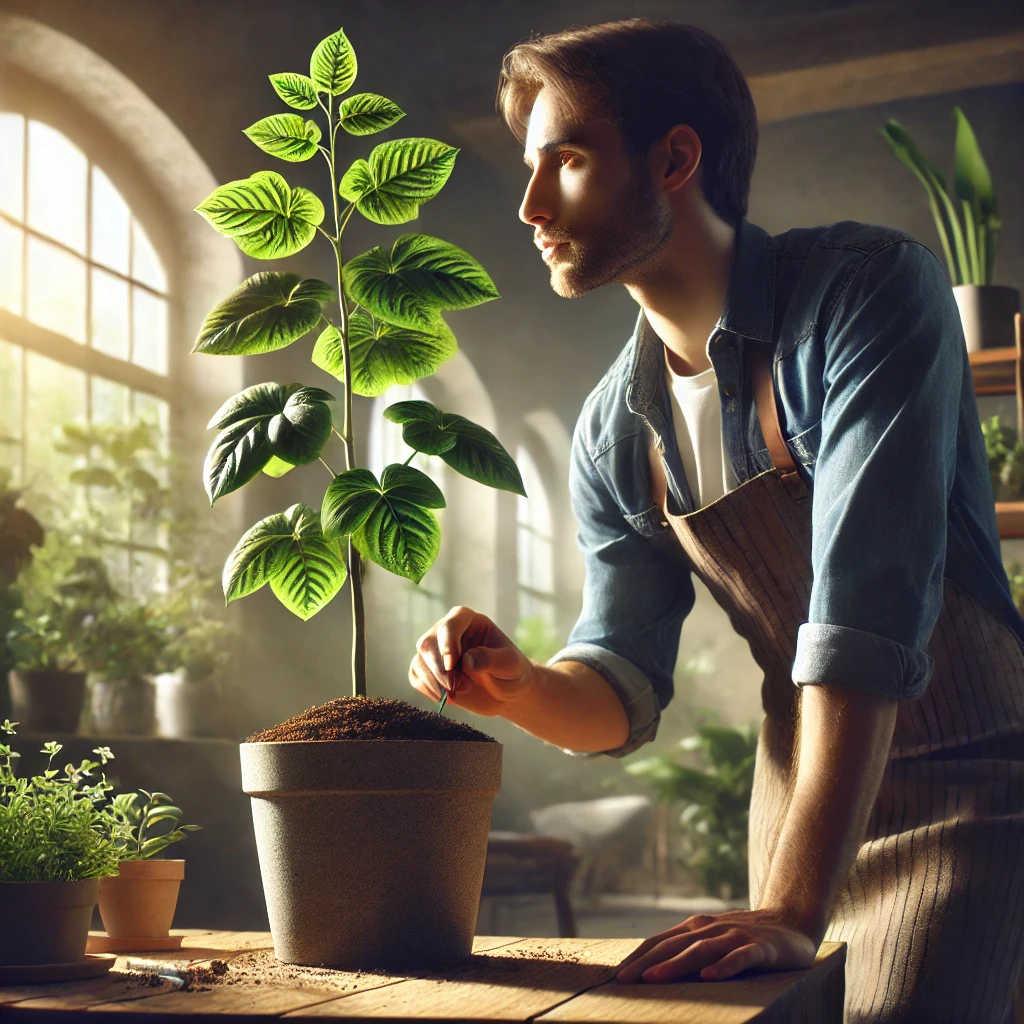
Place your repotted plant in a location with appropriate light for its species, but avoid direct, intense sunlight for the first week. Think of your plant as recovering from minor surgery—it needs a calm environment to heal.
Monitor the soil moisture carefully over the next few weeks. Newly repotted plants sometimes need less frequent watering because the fresh soil retains moisture well and the roots haven’t yet spread throughout the pot. Wait until the top inch or two of soil feels dry before watering again.
Watch for signs of transplant shock, which can include temporary wilting, leaf drop, or yellowing. This is normal for the first few days. If it persists beyond a week or worsens, check the soil moisture—too wet or too dry are common causes.
Within a few weeks, you should see new growth emerging, which tells you the roots have established themselves in their new home. This is your sign that the repotting was successful.
Common Repotting Mistakes to Avoid
Over my years of plant care, I’ve made plenty of mistakes and learned from watching others make them too. Here are the biggest pitfalls to avoid:
Going Too Big: Oversized pots are one of the most common mistakes. All that extra soil stays wet and can suffocate roots or encourage rot. Stick to one to two inches larger in diameter.
Skipping the Root Inspection: Don’t just pull the plant out and plunk it into new soil. This is your chance to remove damaged roots and prevent future problems.
Using the Wrong Soil: That bag of garden soil or topsoil won’t work for container plants. Always use proper potting mix formulated for indoor plants.
Repotting a Stressed Plant: If your plant is already struggling with disease, severe pest infestation, or extreme dehydration, repotting might be too much stress. Address those issues first.
Fertilizing Too Soon: Fresh potting mix has nutrients. Adding fertilizer right after repotting can burn tender roots that are trying to establish themselves.
Special Considerations for Different Plant Types
Different plants have different preferences when it comes to repotting. Succulents and cacti need to be planted in fast-draining soil and prefer terracotta pots that wick away moisture. Let them dry out for a day or two before repotting, and wait several days after repotting before watering.
Orchids are a special case entirely. They often grow in bark or moss rather than soil, and many prefer to be somewhat root-bound. When repotting orchids, use orchid-specific media and pots with extra drainage.
Large plants and trees can be tricky to repot due to their weight. You might need a helper to support the plant while you work. For extremely large specimens that are difficult to move, you can do a “top dressing” instead—remove the top few inches of old soil and replace it with fresh mix.
Some plants, like African violets and snake plants, actually bloom better when slightly root-bound. For these, you might repot less frequently or even stay in the same pot size, just refreshing the soil.
Final Thoughts
Repotting doesn’t have to be intimidating. Like any skill, it gets easier with practice, and your plants are more resilient than you might think. The first few times might feel awkward, but soon you’ll develop a rhythm and confidence in handling your plants.
Remember that repotting is an act of care that sets your plants up for long-term success. Yes, there might be a few days of adjustment, but the reward is a healthier, happier plant with room to grow and thrive for years to come. Your future self—and your flourishing plants—will thank you for taking the time to do it right.
So grab that pot, get your hands dirty, and give your green friends the fresh start they deserve. Happy repotting!
Resources and Further Reading
For more detailed information about specific plant care needs, consider these trusted resources:
- The Royal Horticultural Society (RHS) offers comprehensive guides on plant care and repotting techniques.
- Missouri Botanical Garden’s Plant Finder helps identify specific care needs.
For troubleshooting specific plant problems, the University of Florida IFAS Extension and North Carolina State University Extension have excellent diagnostic guides available online.


